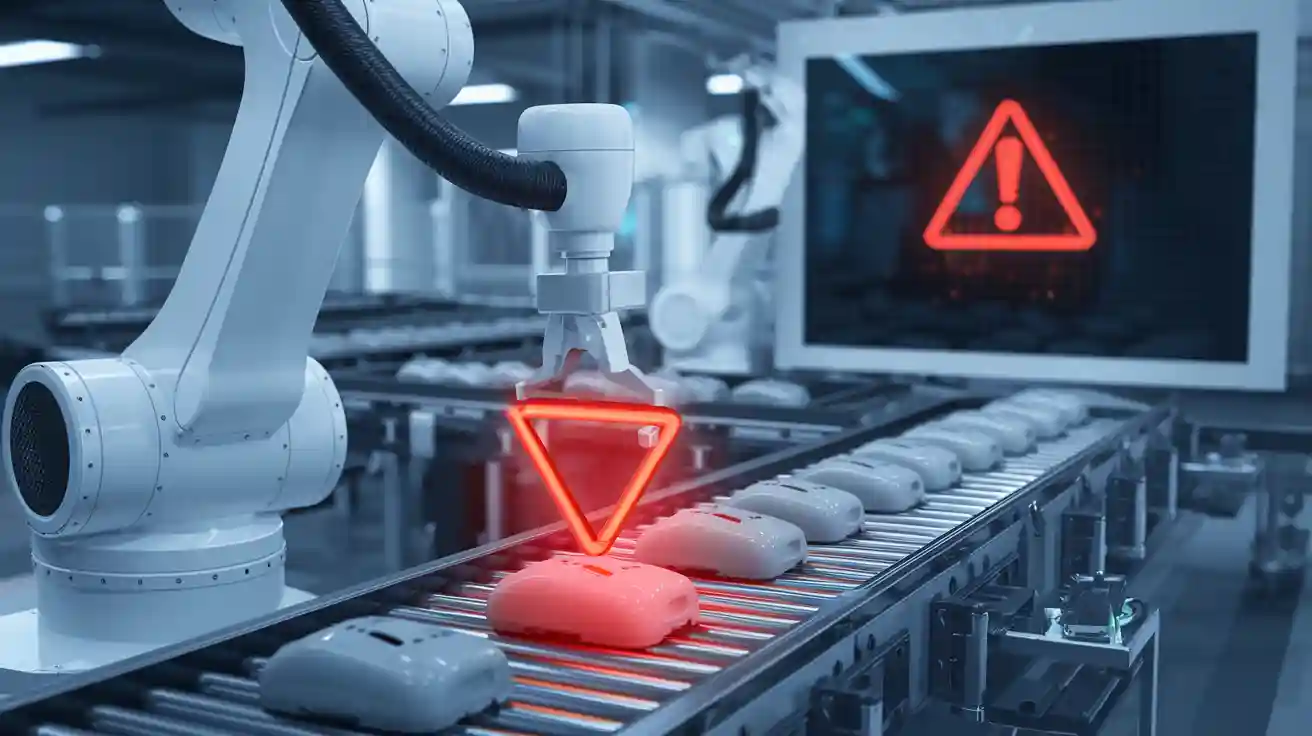
A type i error machine vision system marks a good product as defective during inspection. In ai-driven inspection, false positives create problems for manufacturing lines. They slow down automation, increase costs, and waste resources. Studies show that false positives in ai systems stem from poor training data, bad thresholds, and system overfitting. A type i error damages quality and customer trust, especially when ai and machine vision system results cause unnecessary rejections. Balancing sensitivity and specificity in ai-driven inspection improves quality, reduces waste, and keeps inspection efficient.
Key Takeaways
- Type I error means marking a good product as defective, causing false positives in AI inspection systems.
- False positives slow down production, increase costs, and waste resources by causing unnecessary checks and rework.
- Balancing sensitivity and specificity helps catch real defects while reducing false alarms for better inspection accuracy.
- Using diverse training data, regular system calibration, and tuning thresholds lowers false positives and improves AI reliability.
- Reducing Type I errors protects product quality, boosts customer trust, and keeps manufacturing efficient.
Type I Error Machine Vision System
Definition and Meaning
A type i error machine vision system happens when the system marks a good product as defective. In ai-driven inspection, this error is called a false positive. The system wrongly rejects items that meet quality standards. This mistake can cause problems in manufacturing, such as wasted materials and extra work.
Researchers in quality control have found that false positives and false negatives often appear in machine vision systems. Legacy systems sometimes get bypassed because they make too many mistakes. Deep learning and machine learning models need careful training and validation to reduce false positives. These models usually reach accuracy rates between 85% and 90%. This performance often beats manual inspection, but false positives still occur. Engineers must set the right detection thresholds and understand what counts as a defect. Advances in ai and software tools help lower the number of false positives by making the system more stable and less sensitive to noise or changes in the process.
The table below shows how experts define and measure type i error in machine vision and related fields:
| Aspect | Description | Quantified Metric / Example |
|---|---|---|
| Definition of Type I Error | Mistaken rejection of a true null hypothesis; equivalent to a false positive | Probability denoted by α (alpha), the significance level of a test |
| Typical Significance Level | Commonly set at 0.05 (5%) | Implies 5% chance of false positive rejection |
| Biometrics Context | Type I error called False Reject Rate (FRR) or False Non-Match Rate (FNMR) | Probability system wrongly rejects a genuine match |
| Security Screening Example | Type I error is false alarm (false positive) where a non-weapon item triggers an alarm | High sensitivity leads to many false positives to minimize false negatives |
| Vehicle Speed Measurement Example | Null hypothesis: vehicle speed ≤ 120 km/h; Type I error: fining a driver when true speed ≤ 120 km/h | Significance level α=0.05 leads to critical speed threshold (e.g., 121.9 km/h) with 5% false fine rate |
| Crossover Error Rate (CER) | Point where Type I and Type II errors are equal | Lower CER indicates better system accuracy |
In ai-driven inspection, the confusion matrix and contingency table help track false positives and false negatives. These tools show how often the system makes each type of error. Engineers use this information to improve defect detection and reduce mistakes.
Hypothesis Testing in Inspection
Hypothesis testing plays a key role in automated inspection. In manufacturing, engineers use this method to decide if a product has a defect. The system starts with a null hypothesis, which says the product is good. If the ai or machine learning model finds something unusual, it may reject the null hypothesis and mark the item as defective. A type i error machine vision system occurs when the system rejects the null hypothesis by mistake, causing a false positive.
Many industries use hypothesis testing to improve defect detection. For example, an automotive parts company tested new tooling settings. They used hypothesis testing to check if the changes reduced defects. The results showed a 40% drop in part variations. In pharmaceutical packaging, automated inspection with ai found 99.9% of defects, compared to 98.5% with manual inspection. This improvement came from careful hypothesis testing and setting the right significance level. A semiconductor company used hypothesis testing to confirm that new cleaning steps cut defect rates by 60%.
Manufacturers also use statistical tools like two-sample t-tests, regression analysis, and confidence intervals. These methods help compare process changes, model quality outcomes, and estimate how much variation exists. For instance, a semiconductor company used hypothesis testing to reduce wafer thickness variation by 37%, which increased yield by 5.2%. An automotive supplier used a two-sample t-test to show that a new cooling process made parts more consistent and faster to produce. Regression analysis helped a pharmaceutical company optimize tablet compression, cutting variability by 42%. Confidence intervals show how reliable the inspection results are, helping engineers make better decisions.
A leading electronics manufacturer ran an A/B test to compare a legacy vision system with a new ai-based system for soldering defect detection. They split the production line and collected data for four weeks. The new system reached a 97.2% defect detection rate, while the old system had 93.5%. The test used a significance level of 0.05, showing the improvement was real and not due to chance. The company used a contingency table to track false positives and false negatives, making sure the new system worked better before full deployment.
Note: Hypothesis testing, confusion matrix, and contingency table are essential tools for managing type i error machine vision system performance. They help engineers find the right balance between catching real defects and avoiding false positives or false negatives.
Impact on Inspection

Production Efficiency
Type I Error, or false positives, can slow down manufacturing lines and reduce production efficiency. When an ai system marks a good product as defective, workers must stop the line to inspect or rework the item. This action wastes time and resources. In many factories, false positives lead to unnecessary machine downtime and extra maintenance. The table below shows how false positives affect key production efficiency metrics:
| Production Efficiency Metric | Impact of False Positives / Improvement After Reduction |
|---|---|
| Machine and Equipment Downtime | Reduced by 17% due to early anomaly detection |
| Preventive Maintenance Efficiency | Improved scheduling and effectiveness |
| Overall Plant Productivity | Increased due to less downtime and better resource use |
| Operating Costs | Reduced by 22% through fewer unnecessary interventions |
False positives also increase operational costs. Workers spend time checking products that do not have a defect. This misallocation of resources disrupts the process and creates bottlenecks. Companies may lose revenue when legitimate operations get blocked. Reputational damage can occur if the system seems unreliable. In manufacturing, every minute counts. When ai systems make too many false positives, the whole process slows down, and plant productivity drops.
- Increased operational costs from unnecessary inspections and rework
- Wasted time and effort on valid products incorrectly flagged
- Reduced productivity caused by misallocation of resources
- Disruption of production workflows leading to bottlenecks
Quality Control
Quality control teams rely on accurate inspection to maintain high product quality. False positives can undermine this goal. When ai systems flag too many good products as defective, workers may lose trust in the inspection process. They might start ignoring alerts, which increases the risk of missing real defects. This situation can lead to more false negatives, where defective products pass through undetected.
Quality control depends on a balance between catching real defects and avoiding unnecessary rejections. Too many false positives can cause teams to focus on the wrong issues. This focus wastes resources and reduces the effectiveness of quality control. In manufacturing, quality means more than just finding defects. It also means using resources wisely and keeping the process efficient. If the inspection system is not reliable, product quality suffers, and the company may face higher costs.
Quality control teams use ai to improve inspection accuracy. They monitor both false positives and false negatives to keep the process under control. Regular audits and system calibration help reduce errors. When teams manage these errors well, they protect product quality and keep manufacturing processes running smoothly.
Customer Satisfaction
Customer satisfaction depends on consistent product quality and trust in the brand. When false positives disrupt the inspection process, companies may reject good products or delay shipments. These actions can lead to shortages or missed deadlines. Customers notice when products are not available or when quality seems inconsistent.
Surveys show that 89% of global consumers check online reviews before buying. Positive reviews influence almost half of all purchase decisions. In the US, 66% of consumers say online reviews are the most important factor in their buying choices. If customers see negative feedback about product quality or reliability, they may avoid the brand. About 67% of consumers will not buy a product if they see negative reviews. Companies that respond quickly to negative feedback can improve their reputation. Businesses that reply to negative reviews within 24 hours see a 33% increase in customers upgrading their ratings.
- Over 50% of consumers avoid purchasing if they suspect feedback is fake.
- Around 75% of consumers worry about fake feedback affecting trust.
- Fake reviews can damage brand reputation and revenue.
- Consumers, especially younger ones, are getting better at spotting fake reviews.
Manufacturing companies must control both false positives and false negatives to protect product quality and customer trust. Ai-driven inspection systems play a key role in this process. When these systems work well, they help companies deliver high-quality products and maintain strong customer relationships.
Reducing Type I Error in AI-Driven Inspection
Training Data and Algorithms
AI-driven inspection systems depend on high-quality training data and strong machine learning algorithms. Engineers improve defect detection by using large and diverse datasets. They include images from different lighting, angles, and product types. This approach helps the system recognize both defects and normal products. When teams use hard negative mining, they focus on the most difficult cases. This method reduces false positives and false negatives. Model refinement with feedback from human inspectors also helps. For example, correcting noisy labels and retraining the model can boost accuracy by at least 3%. Advanced algorithms, such as particle swarm optimization and hybrid metaheuristics, select the best features for the system. These steps make AI more reliable in automation and inspection.
Key strategies to reduce false positives:
- Use diverse and large-scale data for better generalization.
- Apply active learning to focus on challenging cases.
- Adjust loss functions to minimize false positives.
- Tune hyperparameters for optimal performance.
- Combine human judgment with machine learning for quality assurance.
System Calibration
Calibration ensures that the AI system makes accurate decisions during inspection. Engineers collect ground truth data to compare with model predictions. They use statistical methods to remove noise and outliers from measurements. Regular calibration aligns the system’s confidence with real-world results. Visualization tools help spot trends and guide adjustments. Teams also monitor for data drift and retrain models when needed. Human-machine collaboration in labeling improves ground truth quality. Continuous testing and validation keep the system reliable and reduce both false positives and false negatives.
Tip: Regular audits and calibration help maintain inspection accuracy and prevent performance drops over time.
Sensitivity vs. Specificity
Sensitivity measures how well the system finds true defects. Specificity shows how well it avoids marking good products as defective. Adjusting the threshold changes both sensitivity and false positives. A high threshold lowers false positives but may increase false negatives. Lowering the threshold does the opposite. Engineers use ROC and precision-recall curves to find the best balance. Proper calibration and threshold tuning help maintain high sensitivity while reducing false positives. This balance is key for reliable AI-driven inspection and strong process control.
| Metric | Effect on Inspection |
|---|---|
| Sensitivity | Finds more true defects, may increase false positives |
| Specificity | Reduces false positives, may increase false negatives |
Understanding and managing Type I Error in machine vision systems helps companies improve inspection results. Studies show that reducing false positives in ai applications leads to better customer satisfaction, stronger security, and higher efficiency. Ongoing optimization remains essential, as research highlights the need to balance accuracy and speed in ai-driven inspection. Teams should use best practices like model calibration and threshold tuning.
Reliable ai inspection systems protect product quality and build trust with customers.
FAQ
What is a Type I Error in machine vision systems?
A Type I Error happens when the system marks a good product as defective. This mistake is also called a false positive. It can cause waste and slow down production.
Why do false positives occur in AI-driven inspection?
False positives often come from poor training data, wrong thresholds, or system overfitting. Engineers can reduce these errors by improving data quality and adjusting system settings.
How can companies lower the rate of Type I Errors?
Companies can use better training data, regular system calibration, and careful threshold tuning. They can also combine human checks with AI to catch mistakes early.
What problems do false positives cause in manufacturing?
False positives lead to wasted time, higher costs, and lower trust in the inspection system. Workers may need to stop machines or recheck products, which slows down the whole process.
Can Type I Error affect customer satisfaction?
Yes. Too many false positives can delay shipments or cause good products to be rejected. Customers may lose trust in the brand if they see quality problems or late deliveries.
See Also
Capabilities Of Machine Vision Systems In Detecting Defects
Analyzing How Machine Vision Systems Detect Product Flaws
Image Recognition’s Impact On Quality Control Using Machine Vision
Ensure Flawless Inspection Using Verification In Machine Vision
A Comprehensive Look At Inspection Machine Vision Systems 2025
