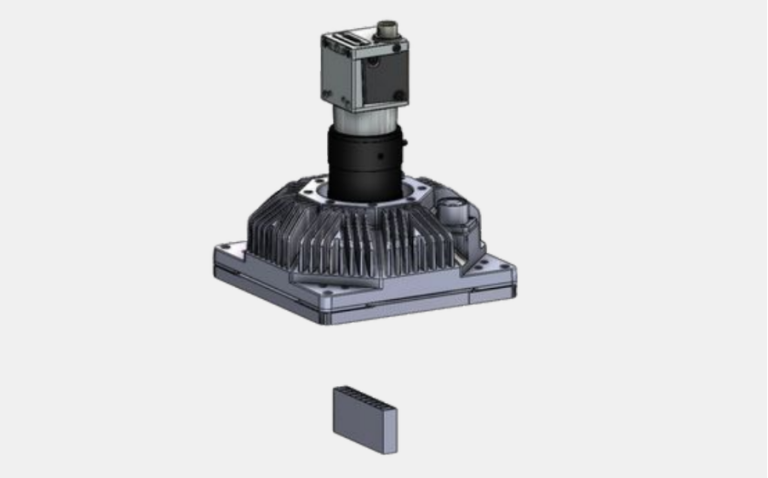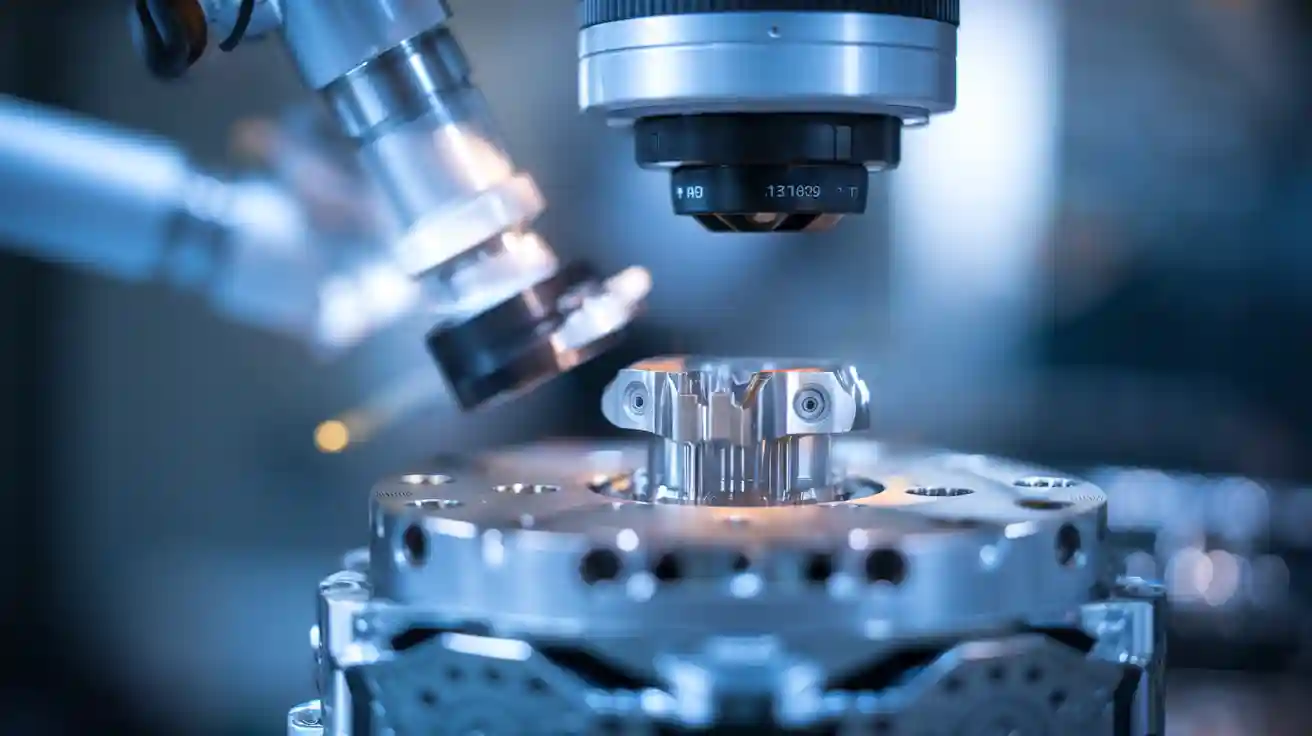
Depth of field plays a critical role in automated inspection. In one factory, an engineer noticed that some defective products passed through the system undetected. The root cause traced back to a depth of field machine vision system that failed to keep all parts of the object in sharp focus. Machine vision relies on clear, sharp images to deliver reliable results. Anyone working with machine vision must understand how depth of field affects inspection quality.
Key Takeaways
- Depth of field controls how much of an object stays sharp in an image, which is vital for detecting defects in automated inspection.
- Adjusting lens settings like aperture, focal length, and working distance helps balance focus and image brightness for clear inspection results.
- Using smaller apertures increases depth of field but needs stronger lighting to keep images bright and sharp.
- Proper calibration and stable camera setups ensure consistent focus and reliable inspection accuracy over time.
- Optimizing depth of field improves image quality, reduces errors, and helps manufacturers meet high product quality standards.
Depth of Field in Machine Vision
What Is Depth of Field?
Depth of field in machine vision describes the range within which objects appear sharp and clear in an image. This range, known as the depth of field range, is essential for automated inspection tasks. When a depth of field machine vision system captures images, it must keep all critical features in focus. If parts of an object fall outside the depth of field range, the system may miss defects or details.
In technical terms, depth of field in machine vision refers to the ability of a lens to maintain a specific level of image quality—such as resolution and contrast—without needing to refocus as the object moves closer or farther from the camera. The depth of field range depends on several factors, including aperture size, focal length, sensor size, and the distance between the camera and the object. By adjusting these parameters, engineers can optimize the depth of field machine vision system for different inspection needs.
Note: Industry guidelines recommend determining the focal distance based on the field of view and working distance. For targets with varying heights, a greater depth of field is necessary to ensure all features remain in focus.
Depth of Field vs. Depth of Focus
Depth of field in machine vision often gets confused with depth of focus, but these terms describe different aspects of the optical characteristics of machine vision systems. Depth of field refers to the object space—the area in front of the lens where objects remain in focus. In contrast, depth of focus describes the image space—the tolerance for how much the image sensor can move while still keeping the image sharp.
A simple way to remember the difference:
- Depth of field: How much of the object stays sharp.
- Depth of focus: How much the sensor can shift and still capture a sharp image.
This distinction matters in machine vision because precise sensor placement and lens selection affect inspection accuracy. As magnification and numerical aperture change, the depth of field in machine vision can decrease, making it harder to keep all object features in focus. Meanwhile, depth of focus may increase, allowing more flexibility in sensor alignment. Understanding both concepts helps engineers design reliable inspection systems that deliver consistent results.
Key Factors Affecting Depth of Field
Lens Aperture
Aperture settings play a major role in lens performance for automated inspection. The aperture, also called the f-stop, controls how much light enters the lens. A smaller aperture increases the depth of field, which means more of the object stays in sharp focus. This is important for best focus across parts with different heights or shapes. However, a smaller aperture lets in less light, so the system may need brighter lighting to keep images clear. In practice, engineers often use adjustable aperture settings to balance light and focus. For example, when inspecting circuit boards, a small aperture helps keep all components in best focus, but the lighting must be strong enough to avoid dark images.
Tip: Bright illumination combined with a small aperture improves both lens performance and image clarity, making it easier to achieve best focus in automated inspection.
| Factor | Relationship to Depth of Field |
|---|---|
| Aperture size | Larger aperture → smaller depth of field |
| Smaller aperture → larger depth of field |
Working Distance
Working distance is the space between the lens and the object. This distance affects lens performance and the ability to keep the entire object in best focus. A longer working distance usually increases the field of view but lowers magnification. It also changes the depth of field, making it easier to keep large objects in focus. For example, when inspecting large packages, a longer working distance helps the system capture the whole object with best focus. In contrast, inspecting tiny parts may require a shorter working distance for higher detail, but this can reduce the depth of field.
| Focal Length (mm) | Typical Working Distance Range | Field of View | Magnification | Typical Inspection Use Case |
|---|---|---|---|---|
| 8 | Long | Wide | Low | Large object inspection |
| 25 | Short | Narrow | High | Small part inspection |
Focal Length and Sensor Size
Focal length and image sensor size work together to determine lens performance and best focus. A longer focal length lens gives higher magnification but a smaller depth of field. A shorter focal length increases the depth of field, making it easier to keep more of the object in best focus. The image sensor size affects the field of view. Smaller sensors capture a narrower view, while larger sensors see more of the object. To keep the same framing with a smaller sensor, engineers may use a shorter focal length or increase the working distance, both of which can increase the depth of field. Depth of field calculations often consider focal length, aperture, and sensor size to find the best focus for each inspection task.
- Depth of field depends on lens aperture, distance to the object, focal length, and pixel size of the image sensor.
- Matching the lens to the image sensor size prevents distortion and ensures the best focus.
- Acceptable blur, or blur spot resolution, is often set by the pixel size of the image sensor.
Note: Selecting the right combination of focal length, aperture settings, and image sensor size is key to achieving best focus and reliable lens performance in any automated inspection system.
Optimizing Depth of Field Machine Vision System
Balancing Light and Focus
Engineers working with a depth of field machine vision system must balance best focus, image brightness, and resolution. Adjusting the aperture size changes how much of the object stays in best focus. A smaller aperture increases the depth of field, keeping more of the object sharp, but it also reduces the amount of light reaching the sensor. This can make images darker and may require longer exposure times or brighter lighting. On the other hand, a wider aperture lets in more light, which helps in low-light or high-speed inspection, but it creates a shallow depth of field and can leave parts of the object out of best focus.
| Parameter | Low f-number (Wide Aperture) | High f-number (Narrow Aperture) |
|---|---|---|
| Light Throughput | High (more light reaches sensor) | Low (less light reaches sensor) |
| Depth of Field | Shallow (less of the scene in focus) | Deep (more of the scene in focus) |
| Resolution | High (if in focus) | Moderate (limited by diffraction) |
| Contrast | High at center, lower at edges | Improved across the field |
| Exposure Time | Short (less motion blur) | Long (risk of motion blur) |
Maximizing depth of field often means using a smaller aperture, but this can lower image brightness and slow down inspection speed. Engineers use strong lighting or high-sensitivity cameras to keep images clear while maintaining best focus. In high-speed environments, multi-image systems and advanced image fusion algorithms help extend the depth of field machine vision system’s coverage, ensuring best focus across all object layers. High-resolution cameras paired with telecentric lenses and optimized depth of field gauge settings allow for detailed defect detection, even when objects have complex shapes.
Calibration Tools and Techniques
Precise calibration ensures the depth of field machine vision system delivers best focus and reliable results. Engineers use several calibration methods to maintain consistent depth of field measurements:
- Adjust focal length with techniques like dual red-light overlap to keep best focus.
- Perform daily quick checks of focus and alignment to catch any issues early.
- Complete weekly calibration routines for ongoing accuracy.
- Keep detailed calibration logs to track changes and spot trends.
- Control environmental factors such as temperature, humidity, and vibration to stabilize calibration and maintain best focus.
For objects with limited depth, non-coplanar calibration methods improve geometric accuracy. Placing calibration targets at the actual measurement positions ensures the depth of field gauge matches the inspection needs. Multi-camera systems require calibration of both internal camera settings and external positioning to maintain best focus across the scene. Engineers also use advanced image processing algorithms and well-designed 3D calibration targets to improve depth of field measurements. By following these steps, they ensure the depth of field machine vision system consistently delivers best focus and high inspection accuracy.
Why Depth of Field Matters for Inspection Accuracy
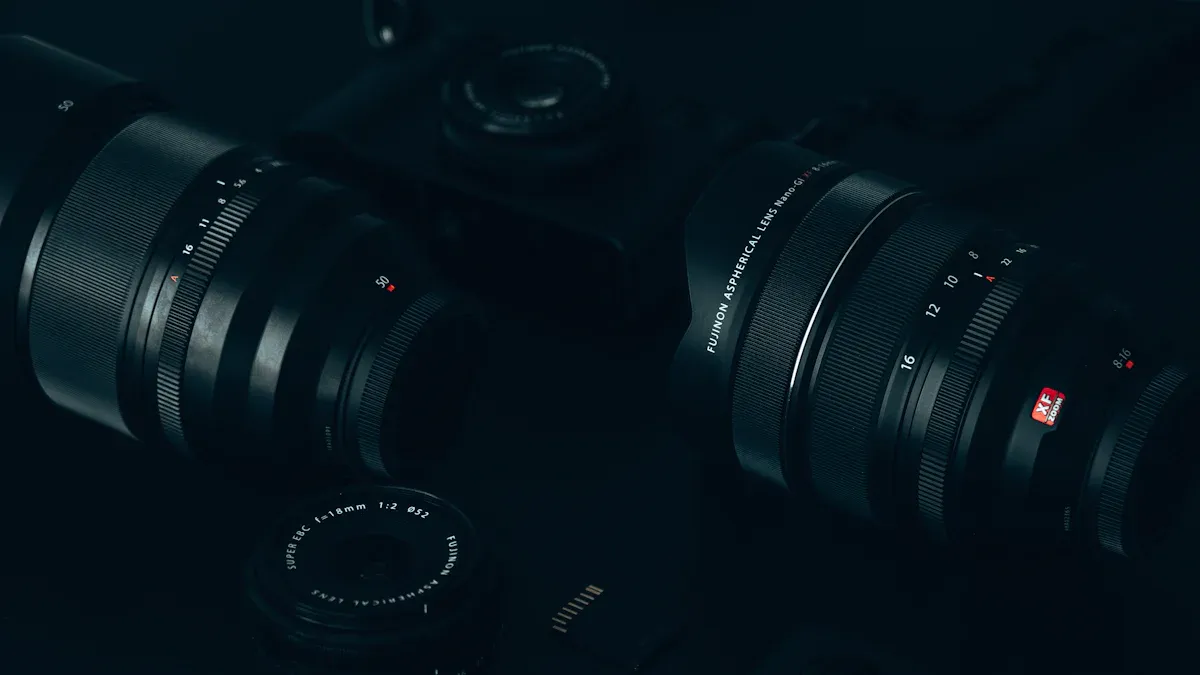
Impact on Image Quality
Automated inspection systems depend on high image quality to detect defects and ensure product consistency. When the depth of field is not properly managed, parts of the object may appear blurry or out of focus. This can lead to missed defects or false positives, which reduces the overall quality of the inspection process.
- Intelligent management of depth of field improves image quality by keeping the important zones of the object sharp.
- Dynamic adjustments, guided by predictive algorithms, help the system adapt to different shapes and surfaces. This increases the ability to find defects in complex products.
- Advanced computational techniques allow precise control over the focal zone. This is especially important for inspecting materials with multiple layers or uneven surfaces.
- In multi-spectral imaging, optimized depth of field management keeps all color bands in focus. This helps the system extract features more accurately.
When engineers control and optimize depth of field, they directly improve image sharpness and feature detection. This leads to better image quality and more reliable inspection results.
Meeting the requirements for machine vision images means every detail must be clear and sharp. If the system fails to keep the entire object in focus, it cannot meet the strict quality standards set by manufacturers.
Ensuring Reliable Results
Reliable inspection results depend on consistent image quality. Leading manufacturers achieve this by carefully selecting and configuring lenses, such as telecentric lenses, which maintain a fixed depth of field and prevent perspective distortion. These lenses allow the system to measure objects accurately, even if they move within the field of view.
Manufacturers also adjust aperture settings to balance sharpness and light intake. By controlling the depth of field range, they ensure that all critical features remain in focus. Telecentric lenses help maintain consistent measurements, which is vital when objects shift position due to vibration or handling.
Ruggedized lenses with fixed focus and aperture settings protect against changes caused by dust, vibration, or temperature. This stability keeps the image quality high, even in harsh industrial environments. Proper lens selection, matched to the sensor size and application, ensures that the system maintains sharp focus, low distortion, and a consistent depth of field.
- Consistent image quality reduces the risk of missed defects.
- Stable focus and low distortion help the system deliver accurate inspection outcomes.
- Reliable depth of field management supports high product quality and fewer false positives.
A well-optimized depth of field is essential for meeting the high standards of modern automated inspection. It ensures that every product meets quality expectations and reduces costly errors.
Depth of field shapes the reliability of machine vision in automated inspection. Professionals achieve optimal results by balancing lens settings, lighting, and camera stability. Key best practices include:
- Experimenting with lighting type, color, and placement
- Using stable mounts and minimizing vibration
- Selecting proper lenses and adjusting aperture for clarity
To improve inspection outcomes, they should:
- Choose lenses and focal lengths that match the inspection area
- Adjust lighting for uniformity and contrast
- Fine-tune camera position for sharp focus
For advanced knowledge, technical papers and webinars offer deeper insights into lens selection, aperture effects, and emerging AI-driven vision systems.
FAQ
What is the ideal depth of field for automated inspection?
The ideal depth of field depends on the object’s size and surface features. Engineers select a depth of field that keeps all critical areas in sharp focus. They often test different settings to find the best balance between clarity and inspection speed.
How does lighting affect depth of field in machine vision?
Lighting plays a key role in image clarity. Strong, even lighting allows engineers to use smaller apertures, which increases depth of field. Poor lighting may force the use of wider apertures, reducing the area in focus and making defect detection harder.
Can software improve depth of field in inspection systems?
Yes. Advanced software can combine multiple images taken at different focus levels. This process, called focus stacking, creates a single image with greater depth of field. Engineers use this technique for objects with complex shapes or varying heights.
Why do some inspections require telecentric lenses?
Telecentric lenses keep the image size constant, even if the object moves closer or farther from the camera. This feature prevents distortion and maintains accurate measurements. Manufacturers use these lenses for precise inspections where size and shape matter.
What happens if the depth of field is too shallow?
A shallow depth of field leaves parts of the object blurry. The system may miss defects or mark good products as faulty. Reliable inspection needs all important features in focus. Engineers adjust lens settings and lighting to avoid this problem.
See Also
Improving Product Quality Through Advanced Surface Inspection Vision
Achieving Excellence In Visual Inspection Using AI Technology
Exploring Specialized Software Designed For Automated Inspection
A Comprehensive Guide To Automotive Appearance Inspection Methods
Key Reasons Machine Vision Is Vital For Efficient Bin Picking
